A guide to using Excel for your estimation project
Intro to electrical estimating

If part of your work involves electrical estimating it’s likely you’ll have come up against a complicated estimating spreadsheet for labour, material and equipment costs. The benefit of using Excel for an estimation project lies within the formulas. By entering different line items for costs you can easily calculate the total cost of each item, and multiply across floors or drawings to calculate estimates faster.
In this blog, we outline the best practices when creating an electrical estimating spreadsheet on Excel, including formulas and functions, as well as the potential downsides to relying on Excel.
You can also download our free customisable Excel estimate template. This template includes itemised sections for listing materials and labour costs. Simply enter your rates and quantities for each item, and the template will automatically total your costs.
Traditionally, estimating meant using Microsoft Excel to create a spreadsheet on your desktop or server. With the rise of cloud-based tools, today you might use Excel online, which allows you to collaborate with others in an online spreadsheet or Google Sheets which is a similar online tool. Which version you choose will likely depend on your company setup and whether you use Outlook (Microsoft) or Gmail (Google) for your general company email and functions.
Either way, we recommend using a cloud-based version of Excel, which comes with auto-save, different permissions levels and the ability to work within one spreadsheet collaboratively with other colleagues. While working from home, being able to access your spreadsheets for takeoff and estimating will make your project workflow more seamless.
Within Excel you have what are called formulas and functions. Formulas are simple equations which let you add, subtract or multiply numbers, for example =B1+B2 which would give you the sum of those two cells.
Functions are preset formulas that Excel can recognise for slightly more complicated actions, like adding all of the items in a row. For example, =SUM(D1:D51) to give you the total of all of your estimating costs in column D.
Here are a couple of simple functions which could come in handy on your estimating project:
To create a full electrical estimate you’ll likely have a spreadsheet that breaks down all of the project costs. Looking at things like materials, labour costs, equipment and any other line items, for example insurance, travel costs or even PPE.
Some of the tips that we use at Countfire to make the takeoff output spreadsheet as organised as possible include:
Of course, even the fastest Excel whizz may struggle to create a completely accurate estimation in Excel. There’s a margin of human error that comes when manually inputting takeoffs and figures and it can be hard to spot inconsistencies.
Excel also opens the floor for anyone working on any project, to create their own version or make edits which can make it hard to have a consistent process and approach. Excel also isn’t built with estimating in mind, so you’ll be building on basic formulas and functions for even complex calculations and projects and there’s no guidance on how to split your disciplines or project overviews.
The benefit of using takeoff software like Countfire for your estimations is that every element of the project is outputted in a takeoff Excel spreadsheet. This creates the following benefits:
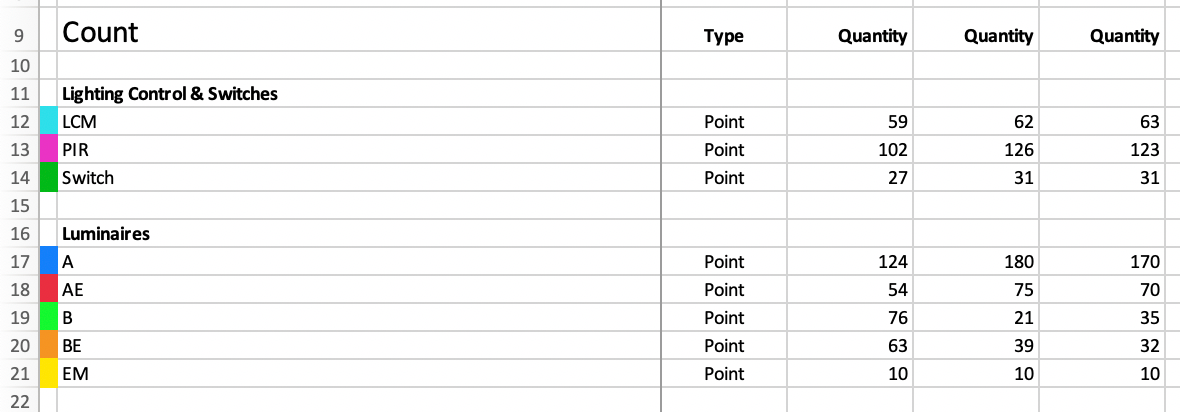
When you’re setting up your takeoff in Countfire you’ll upload drawings under category headings for each discipline for example Power & Data, Fire & Security or Lighting. When you then begin to count each symbol, or measure under those disciplines, you’re automatically creating these as pages within your Excel spreadsheet. Once all of your counts are done, the output of your counts is organised into the disciplines and broken down on the spreadsheet by symbol description.
This makes it very easy to keep your drawings, your takeoffs and the resulting spreadsheet aligned and ensure accuracy between counts and disciplines.
Each spreadsheet produced within Countfire is organised in the same way, with individual sheets showing your Project Overview, Drawing List (so you can ensure all drawings were accounted for) and an individual sheet for each discipline.
This makes it easy to understand and accurately copy the count of each item into your full estimating Excel spreadsheet.
When finalising a project with Countfire there are a series of final checks to make to ensure that you haven’t missed any symbols or created a false positive for a symbol.
If you do happen to find any mistakes you can simply go back and edit the drawings (using the guidance from the spreadsheet which will show you exactly which symbols were counted on which drawing) and reprocess your files.
This makes it much easier to 1) check the accuracy of your counts and 2) make changes without affecting all of the other symbols. When using manual counts or individual Excel spreadsheets which aren’t set out in a specific formula it isn’t possible to spot granular errors which can have a huge impact on your project pricing.
Excel can be a good starting point when it comes to creating estimation projects but it isn’t the most accurate or efficient way to complete a takeoff or estimate. To create automated takeoffs and receive all of your counts in a single, downloadable spreadsheet, give Countfire a try today.


