How to do electrical estimating
Recently our customers are reporting having to estimate a higher number of jobs in order to win work.
Whereas before estimators may have won one in every four projects, today it’s more likely that they’ll win one in 10. Whether this is due to the slowing of some building projects in 2020, or is a result of more estimators adopting electrical estimating software which allows them to easily price more projects therefore increasing competition, is unclear.
What is clear is that electrical estimators need to be able to create fast, accurate estimates for projects that increase client trust and help them to win more work.
In this guide we cover how to do electrical estimating using a modern electrical estimating workflow that dramatically saves time and increases accuracy.
How to do electrical estimating
1. Review your project and drawings
Many think that the first step of electrical estimating is diving into the auto-counting to unlock the ability to add pricing. However it’s important to first gain a holistic understanding of your project.
Reviewing specifications, pricing schedules and any supporting architectural or mechanical information helps you to spot anything which may impact the project. This also gives you an opportunity to submit any requests for information as well as noting any areas which may affect mark-up and labour costs.
2. Takeoff your drawings
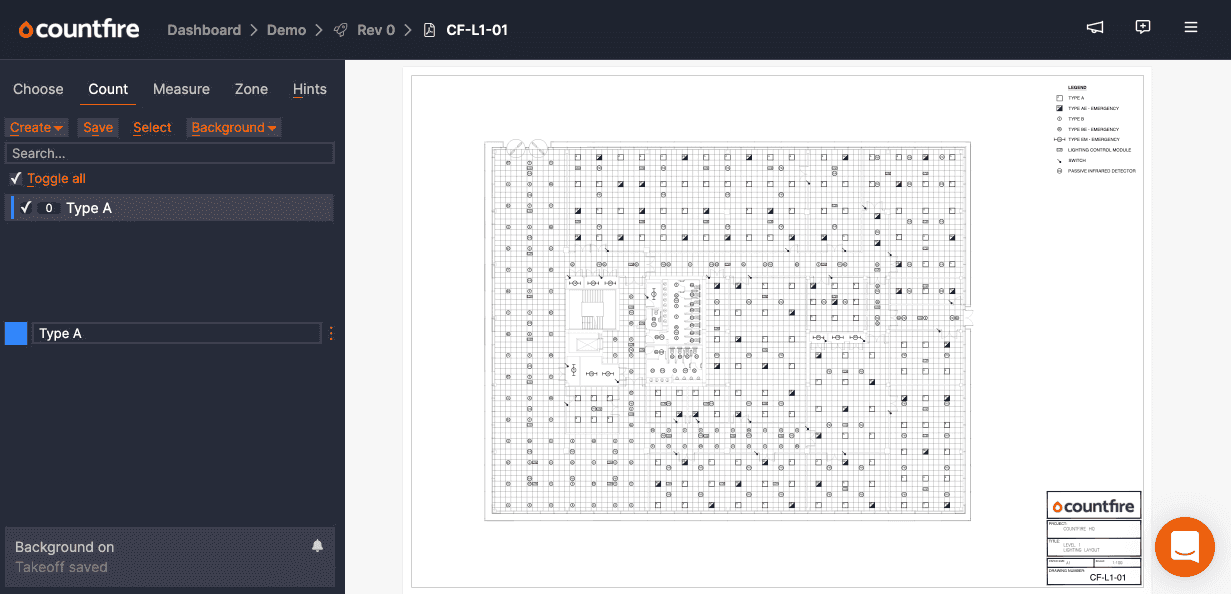
Once you’re happy you understand the project, the next step is to begin counting your drawings so that you can accurately estimate costs for each. Now you could rely on your own counting skills to manually count each item on your drawing, but modern estimators tend to use automated takeoff software which completes this stage for them.
Automated or takeoff allows you to upload the PDF drawings and complete a totally automated count of all symbols within those drawings. With Countfire you can uniquely hide the background before selecting a symbol just once, to have it counted across the entire project including all other drawings.
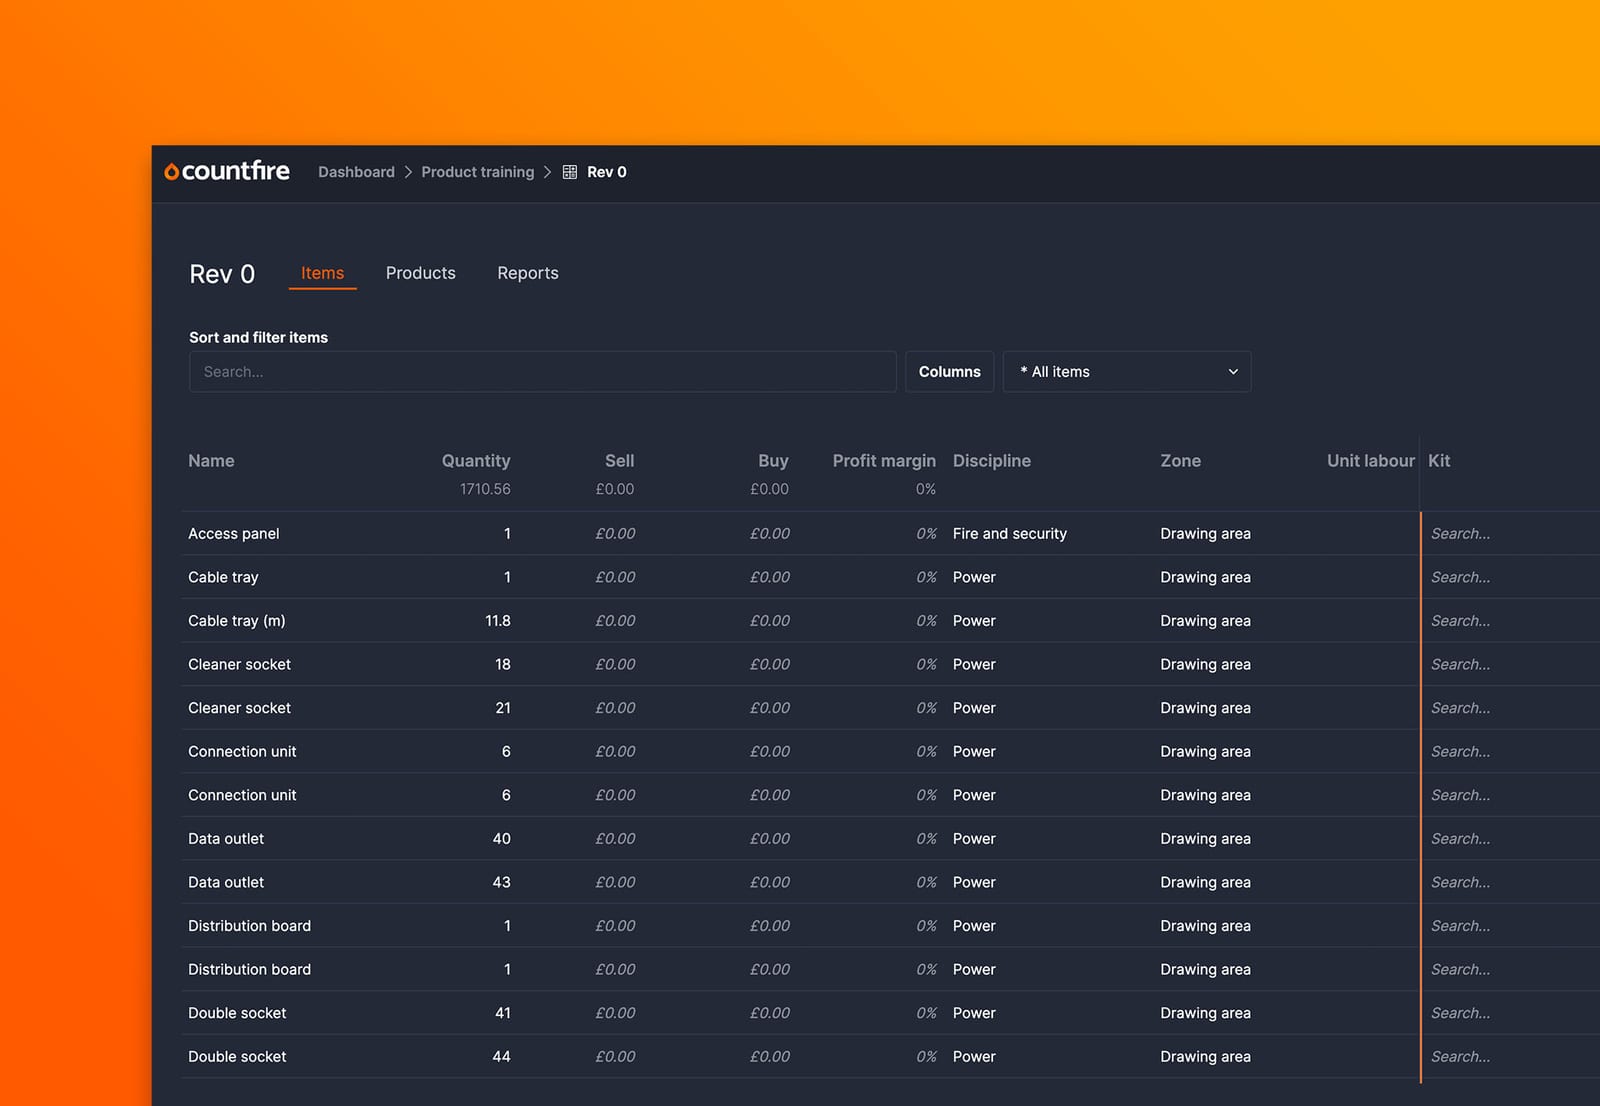
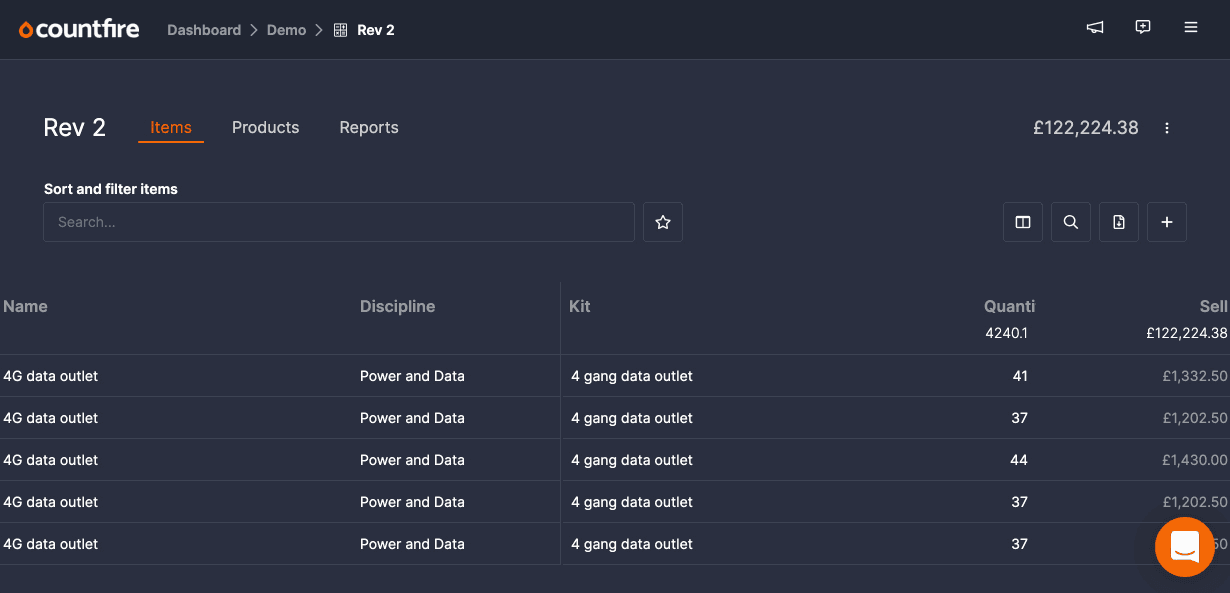
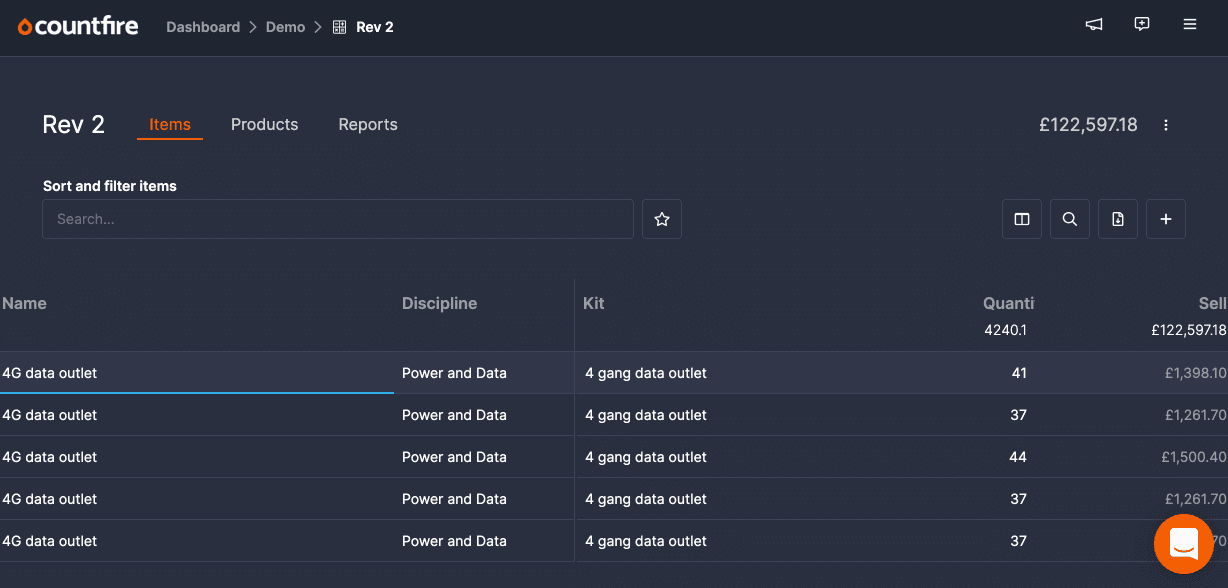
Once everything is counted you’ll have a full takeoff sheet which will break down each symbol, its name, colour and overall quantity for that project.
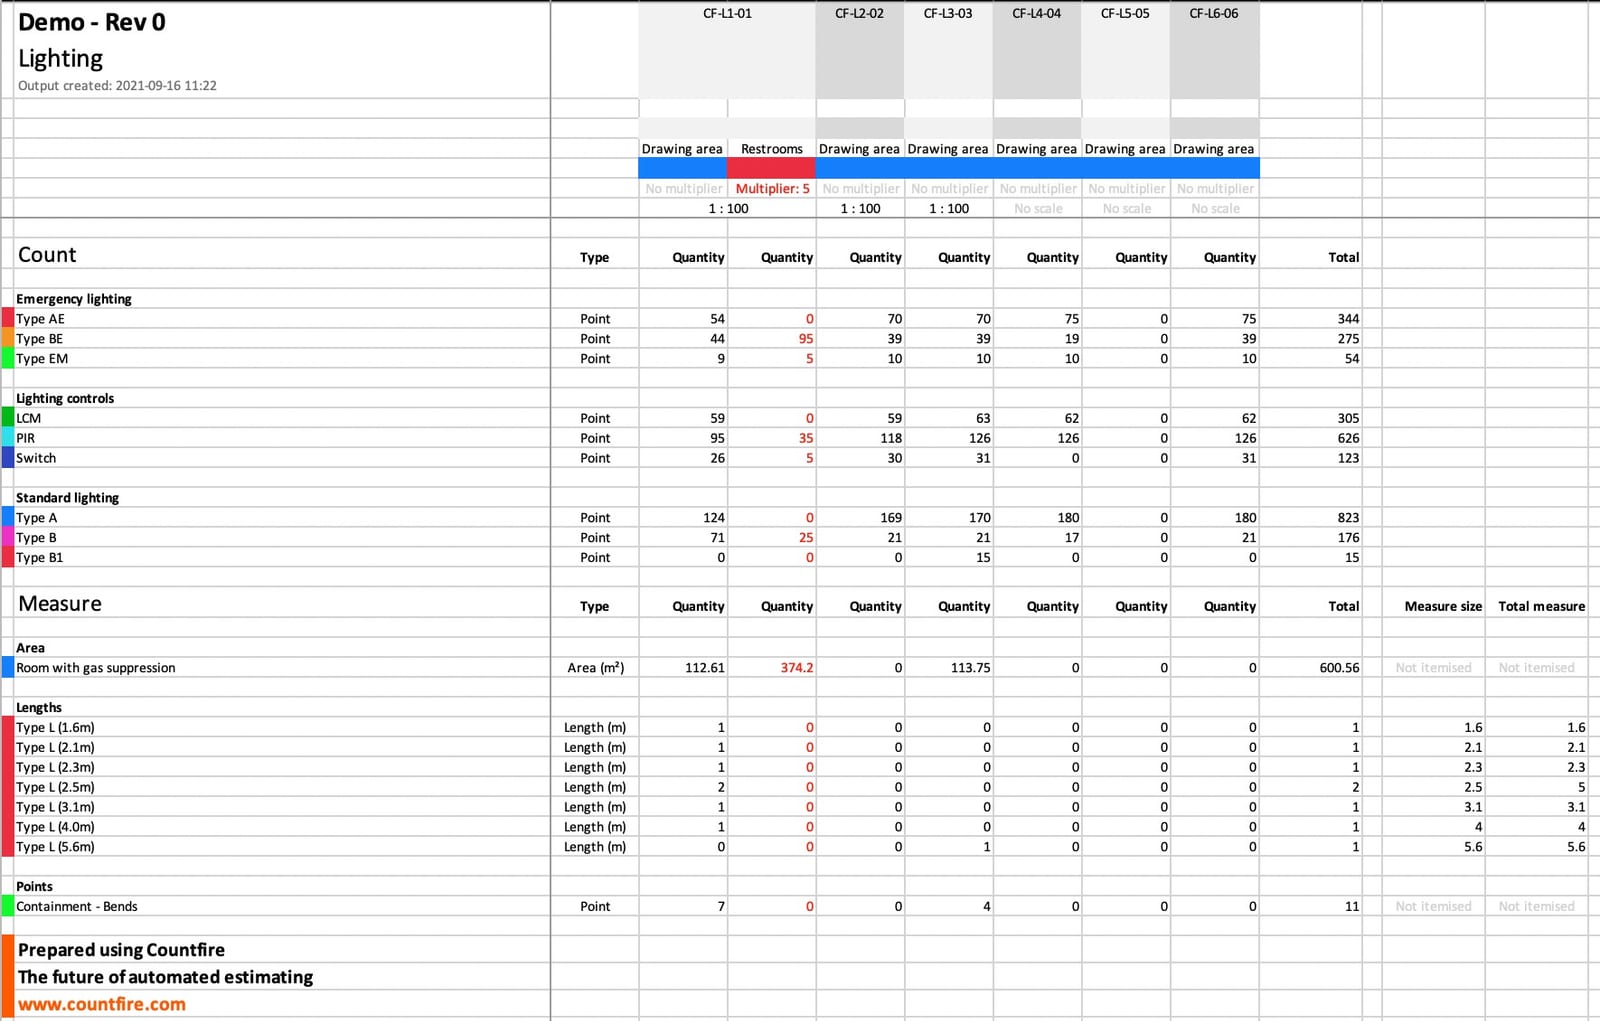
You can see in the takeoff sheet below that as well as a total quantity for each item, you can also see the totals for each drawing and level. This helps to break down your quantities which can be useful later when you need to explain to your estimating manager, or the client, how you got to a certain figure.
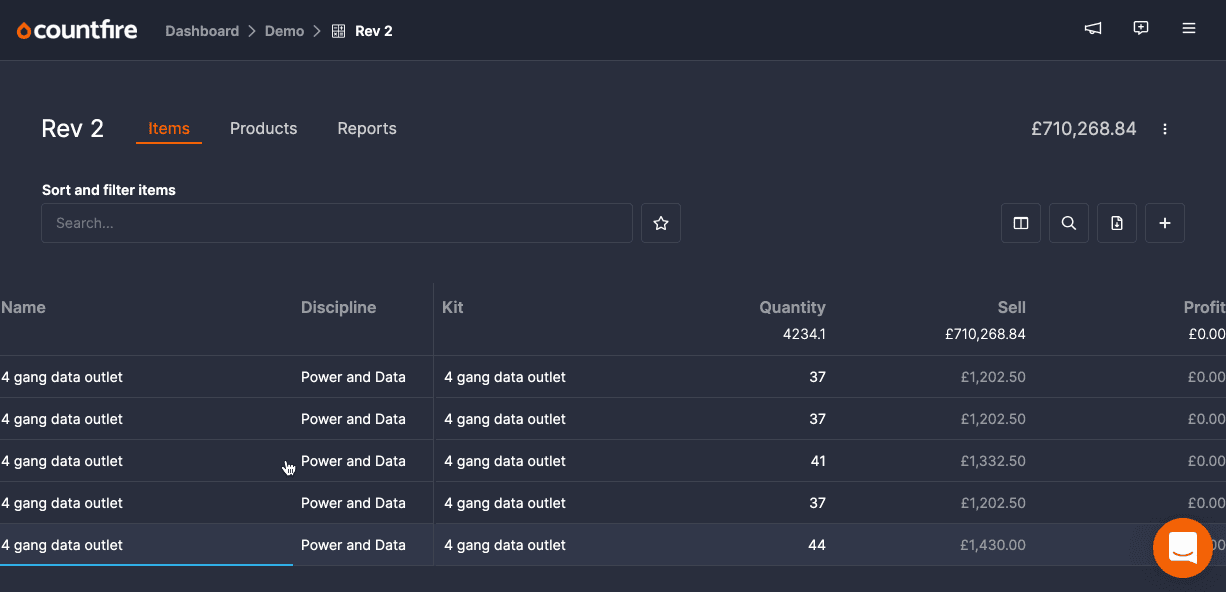
3. Import items from your takeoff to your estimate
Once you have the total counts from your drawings you can transfer these over into your estimate. Within Countfire you can import items from your takeoff to your estimate, and include default overheads and markups, as shown here:
This ensures that every item from every drawing within your project is included in your final estimate and no information is lost between the two stages.
Here, you should also determine an hourly rate to be used across your project. This is the labour cost for your operatives to carry out the installation.
4. Assign costs to items
Now you have all of the items counted within your estimate you can begin assigning costs to them. Hopefully if you are using an automated takeoff tool the items you need to price will already be grouped into disciplines (for example lighting controls, containment, luminaries and fire & security).
Here you can move through each discipline and start to add material costs and labour hours. We use “kits” as a way of pricing items. This allows you to add a series of sub-items to one kit for example, a socket kit may contain a 1 gang switched socket and a 1 gang back box.
With Countfire, its intelligent automation means that the software will price as much of your estimate as possible, based on previous estimates you have completed.
This means that if you regularly use a certain kit for a “switch”, Countfire will know to add this kit to any switches in your current estimate. The more estimates you price, the faster you can get to the end total cost as you don’t have to start from scratch every time.
Moving at speed, you can then rapidly use keyboard shortcuts to quickly confirm kits you regularly use. If there are any outliers you can manually edit the kits on these items to correct them.
Countfire also has smart views that let you powerfully slice and dice your estimate.
This lets you quickly check and verify items that have been automatically priced, and confirm or edit each item before it gets added to the final estimate.
5. Request additional product prices
Naturally on estimates there will be some products where you need to obtain quotes from suppliers. This can be time-consuming while you wait for suppliers to get back to you so it’s best to get your requirements out as early as possible.
The better the relationship between you and your suppliers the faster you’ll likely be able to receive all of your costs so it’s important to make this as easy as possible for the suppliers you’re working with.
Within Countfire you can filter the products you need to obtain costs for and easily download these into one spreadsheet.
You can then send this spreadsheet directly to your supplier and have them fill in the cost against products to help you update the prices accordingly.
This saves on the manual labour usually required to enter each price back into your pricing database and helps you to estimate faster.
6. Add markup
The difference between the product price to you and the price you charge the client is your profit margin. Once you have your products within your estimate you’ll need to set a markup percentage against each product.
In some cases this will be the same (for example 8% on all items in the power discipline) and can be added as defaults when you import your takeoff, but in others you may want to increase or decrease this at a product level to add a higher margin to certain products.
As well as marking up your materials you’ll also want to markup the hours you’ve allowed for installation. For example, adding a 10% markup to your labour where required.
You can add markups individually or in bulk, which gives you flexibility over your project.
Once you’ve added your markups it’s important to review this and ensure it’s accurate, both at discipline level and for the overall project.
Within Countfire you can use the “Review profit” view that will allow you to check the margin for further accuracy.
7. Perform accuracy checks
Completing accuracy checks is a key part of the electrical estimating process. Without this, it’s easy to make simple mistakes which are difficult to fix later (and also costly!). This could completely blow your budget and leave you completing work for little or no profit.
To avoid this scenario you’ll want to have a series of quality and accuracy checks. With Countfire, many of these accuracy checks are built in for you, from the point of takeoff right through to the final profit margin of the project.
These include being able to check each drawing for missed symbols as you complete the takeoff, hiding the backgrounds and having a check sheet for each symbol to ensure that what you have counted matches that item.
Within the estimate stage you can use different views such as Profit view and Products without material price view to help you see any products you haven’t priced, and that the mark-up is correct across each element.
All of which, allow you to adopt an estimating workflow that doesn’t allow for errors.
8. Account for revisions, changes or new information
You’ve now successfully completed your takeoff and estimate and you’re ready to send it to the client. Right? Well, hopefully. As we all know, changes or new information can occur at any point during the project.
Here are a few ways Countfire is built to help you adapt to any changes during the electrical estimating process:
Adapt to a revised pricing schedule
While it’s uncommon to be sent a new pricing schedule it can happen and when it does, most estimating software isn’t able to adapt so you end up starting over. With Countfire, if you receive a revised pricing schedule it’s possible to adapt how quantities are broken down without needing to recount the drawings.
To do this, you can use Zones to create the sections that need to be broken out in your revised pricing schedule and then simply reprocess the project. This will create a new section in your takeoff (that will be imported into the estimate) with the part that needs to be broken out to suit the new requirements.
The flexibility of Countfire’s estimating Reports section also means you can complete your estimate in the workflow that suits you. Once the estimate is complete, you then have the flexibility to create structural changes before you export the final estimate, to ensure everything is displayed in the format required.
Handle revised drawings
Received a whole new set of drawings you suddenly need to add to your estimate? Again with Countfire, you can easily integrate any new information even once you’ve already started down the path of your estimate.
Due to Countfire’s automated takeoff ability you can upload and count any new drawings and add them to the same project you’re already working on. There are a couple of ways to do this, either adding them to the same discipline, or adding a new one if you need to keep the additional drawings separate in your breakdown, or using an entirely new project. You can learn how to use Countfire to handle revised or new drawings here.
You can also overlay drawings from different disciplines and compare revised drawings to spot any differences.
Having the ability to adapt to changes or new information in your estimate helps you get to the end goal faster, and be viewed as a flexible estimating company that keeps its clients interests at heart.
9. Create your final estimate
Once all of the steps are complete and you’ve adhered to any changes you can create your final estimate ready to be submitted alongside your full tender proposal.
It’s important at this stage to double check that your estimate matches the pricing schedule you were provided and that you haven’t missed any requirements set out in the original scope.
Final thoughts
Creating an electrical estimate can be easy or difficult, depending on whether you’re relying on manual labour and data entry, or whether you’re using modern estimating methods which engage the use of cloud-based, intelligent software.
The more you can automate your estimating process the faster you can complete estimates, with an increased level of accuracy. If you’d like to try the future of automated estimating, start your free trial of Countfire today.
Related articles
6 Tips for reducing electrical estimate risk
There’s always risk involved with electrical estimates, but you can help to mitigate that risk. We’re looking at some tips here:
Read article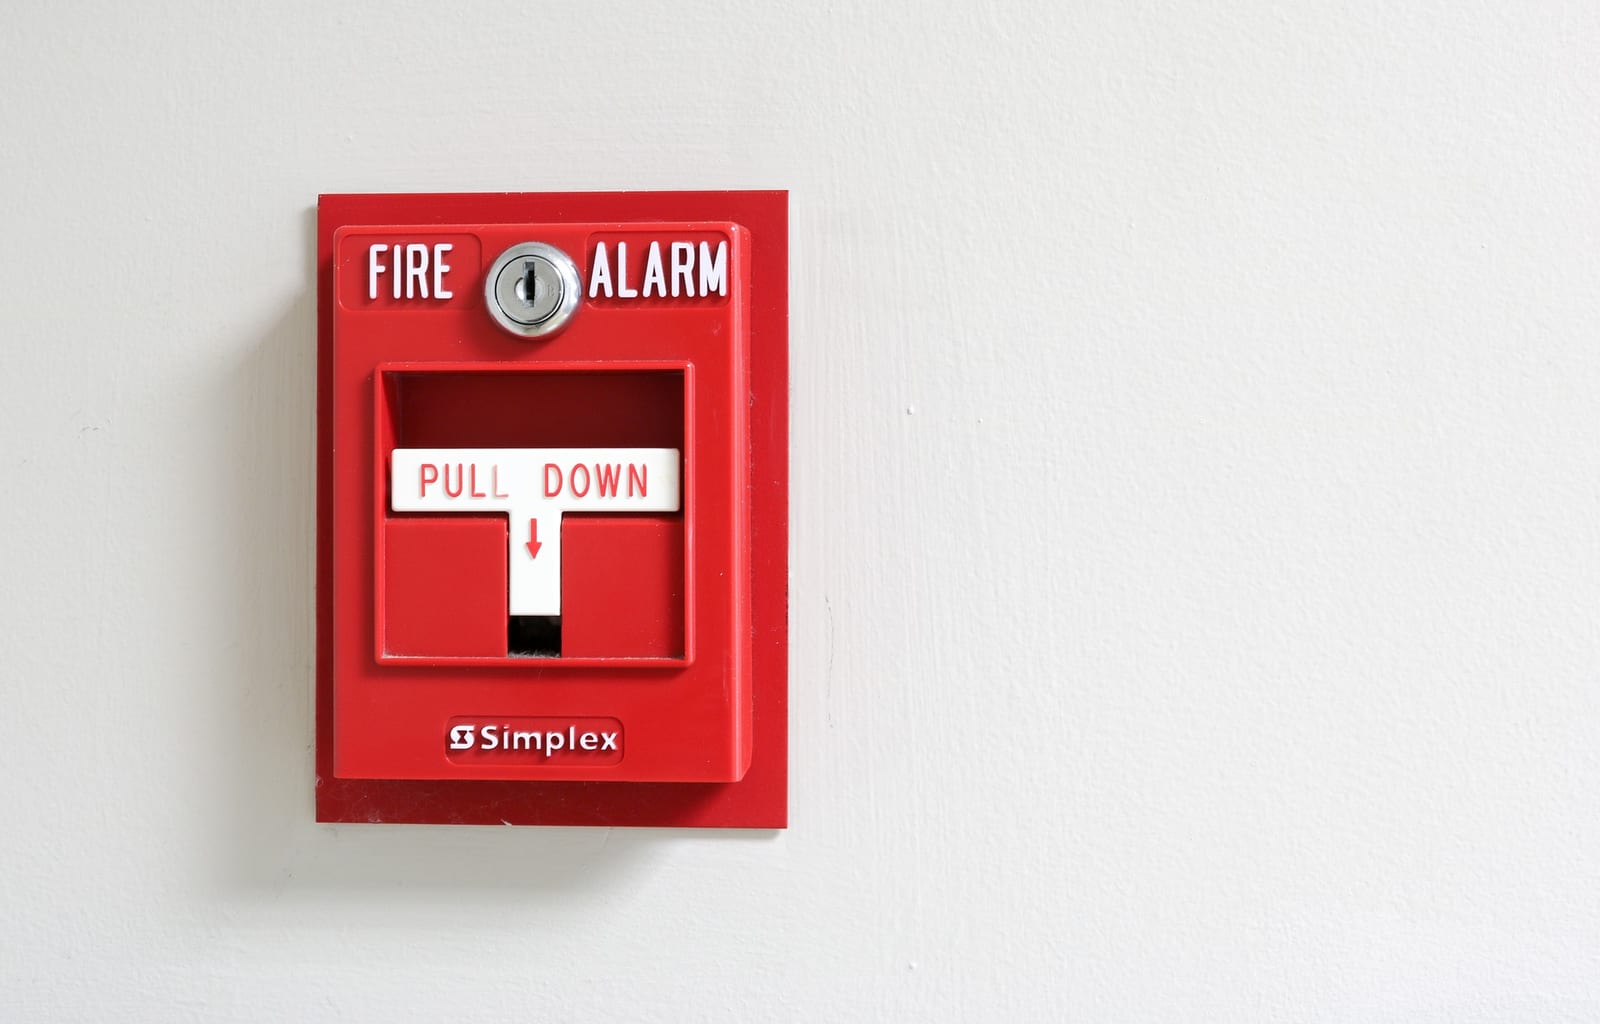
7 Tips for an accurate fire alarm system estimate
An accurate fire alarm system estimate means a better experience for your client and profitable project for your company. Here are some tips to consider:
Read article
Electrical Estimating Software: 2026 Guide
A practical guide to the best electrical estimating software available in 2026, covering key features, who each tool suits, and what to look for before you buy.
Read article